Follow Me On Social Media!


Homemade Sandwich Bread: The Easiest Way to Comfort Food Bliss
Introduction to Homemade Sandwich Bread
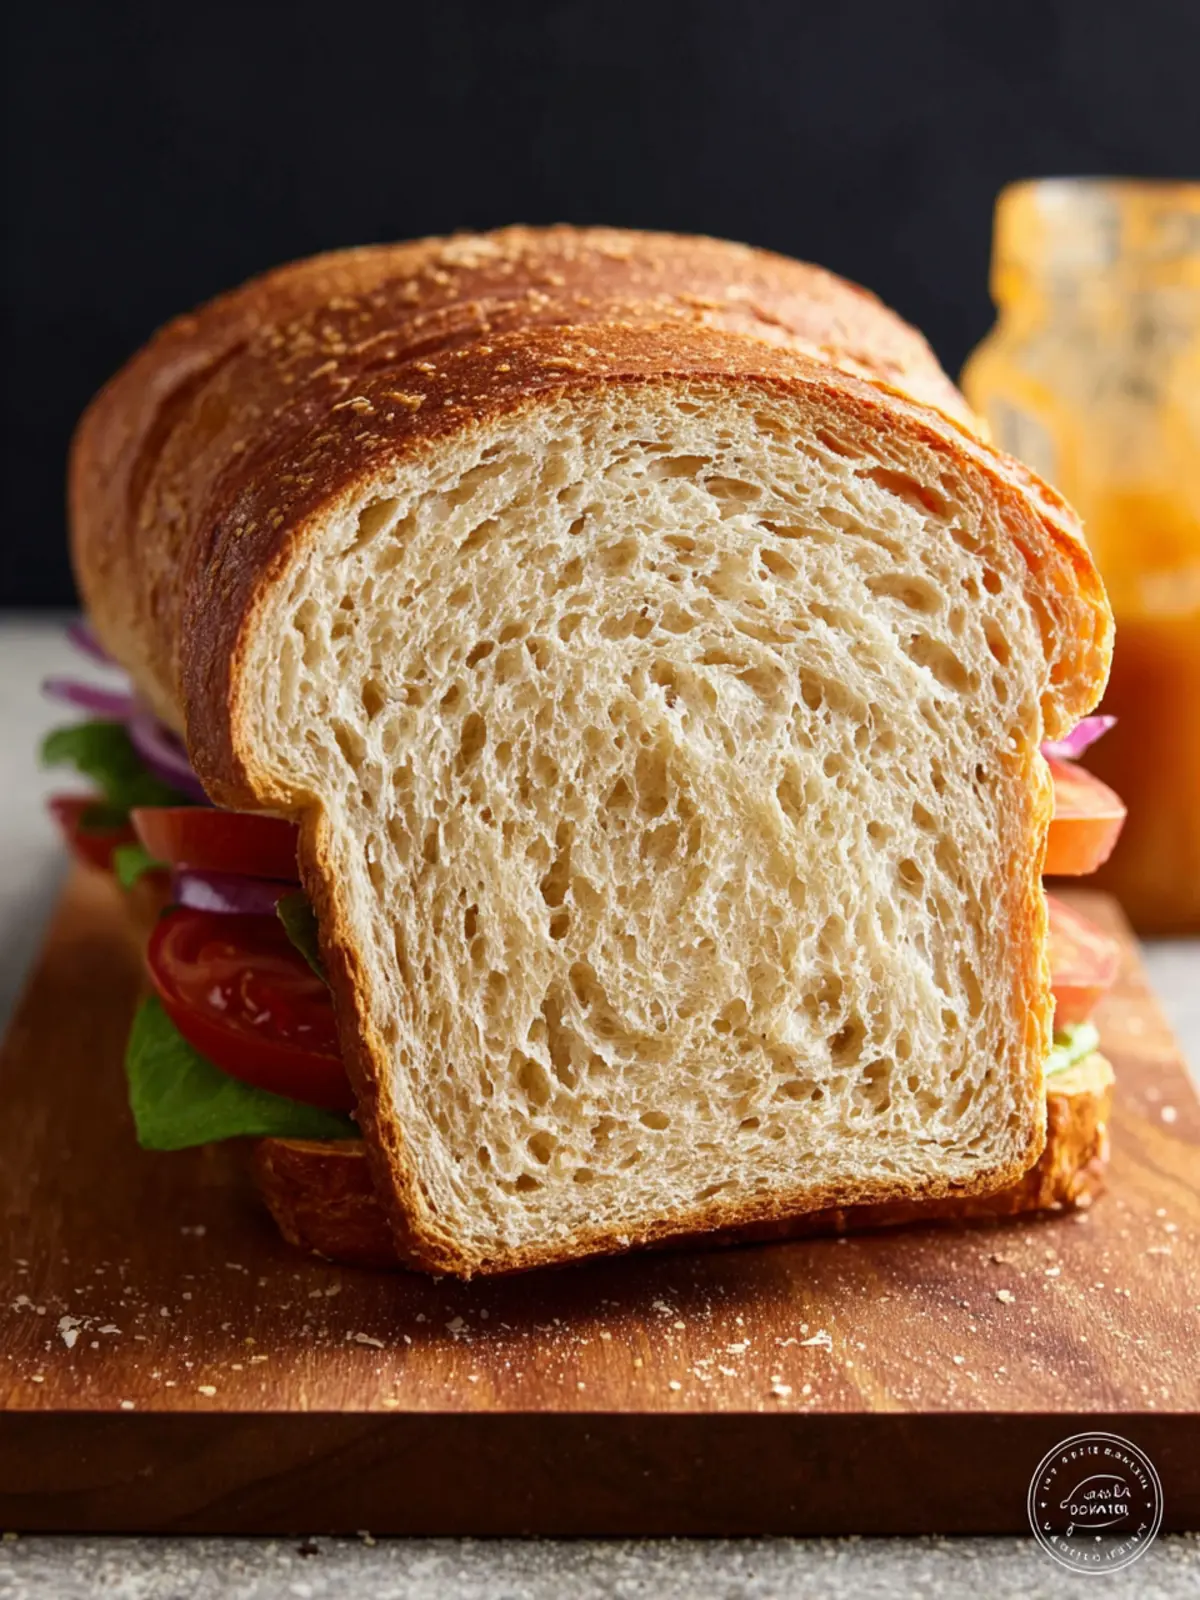
There’s something undeniably comforting about homemade sandwich bread, especially when the aroma fills your kitchen fresh out of the oven. Imagine the joy of crafting a loaf that not only looks gorgeous but also tastes better than anything you can find at the store. Every slice brings a new opportunity for creativity—think of delectable sandwiches, simple toast, or even a perfect base for your breakfast creations.
What makes homemade sandwich bread so special? It’s the ability to control every element of the process: from selecting high-quality ingredients to kneading the dough with care. You have the freedom to customize flavors and textures that suit your family’s preferences. Whether you prefer a soft, fluffy loaf or something with a bit of crunch, making bread at home allows you to experiment until you find the perfect balance.
In today’s busy world, taking the time to make your own bread can feel like a luxury. But the rewards far outweigh the effort. Homemade bread starts with simple ingredients that combine to create something magical—flour, water, yeast, and a pinch of salt. Each ingredient contributes to the final product, creating a loaf that nourishes both body and soul.
Think about it: the satisfaction of slicing into a warm loaf, the crust crackling under your knife, and the soft, airy interior begging to be slathered with butter or filled with fresh veggies. By putting a little effort into your baking, you’re not just making a meal; you’re crafting memories and meals that your loved ones will cherish.
Embrace the process, enjoy the kneading, and be patient during the rising. This is where the magic happens! When you finally pull that loaf out of your oven, golden and inviting, you’ll understand the true magic of homemade sandwich bread. It’s more than just food; it’s an experience that draws everyone to the table and creates lasting connections.
So, gather your ingredients, and let’s dive into creating your own delicious loaf of homemade sandwich bread!

Key Ingredients for Homemade Sandwich Bread
Creating the perfect homemade sandwich bread is a delightful journey that starts with a few essential ingredients. Each plays a crucial role in achieving that soft, fluffy texture we all love.
-
Flour: I opt for all-purpose flour as my base. It provides the ideal structure without being too dense. If you’re feeling adventurous, a bread flour can give you an even chewier bite, perfect for those hearty sandwiches.
-
Yeast: Fresh or active dry yeast is key for the rise. Just imagine the aroma that fills your kitchen as the dough puffs up! Always check the expiration date for the best results.
-
Water: The magic of this recipe relies on warm water, around 110°F. This temperature wakes the yeast up, helping it to work its leavening wonders.
-
Sugar: A touch of sugar not only sweetens the bread slightly but also feeds the yeast, giving it a boost during fermentation.
-
Salt: It enhances flavor and strengthens the dough’s structure, keeping it from becoming too elastic as it kneads. Just a pinch goes a long way.
-
Butter: For richness and a tender crumb, I love using unsalted butter. Melted and mixed in, it adds a delicious depth to the flavor.
Each ingredient contributes to the overall experience of homemade sandwich bread, turning simple staples into something extraordinary. Happy baking!
Why You’ll Love This Homemade Sandwich Bread
The charm of homemade sandwich bread lies not just in the way it complements your favorite fillings but also in the satisfaction that comes from crafting something delicious from scratch. Imagine the moment you first cut into that freshly baked loaf: the warm, inviting aroma wafts through your kitchen, and the golden crust gives way to soft, fluffy insides.
Elevate Your Sandwich Game
There’s something incredibly fulfilling about producing your own bread. It’s an experience rooted in nostalgia, often evoking memories of family gatherings and lunchtime favorites. As you mix the simple ingredients—flour, yeast, water, and a hint of salt—you’ll find that bread-making is both therapeutic and rewarding.
Perfect for Any Occasion
Whether you’re preparing a weekday lunch, hosting a brunch, or throwing a casual picnic, this homemade sandwich bread is versatile enough to fit any occasion. It provides the perfect backdrop for grilled cheese, turkey and avocado, or even a classic PB&J. The best part? You control the ingredients, which means no preservatives and a fresh taste that store-bought just can’t match.
A Healthier Choice
By making your own sandwich bread, you’re ensuring that your meals are not only fresher but also healthier. You can experiment with different flours and add seeds or herbs to enhance the flavor and nutrients. Plus, who wouldn’t love the feeling of knowing exactly what goes into their food? Get ready for your taste buds to rejoice!

Variations of Homemade Sandwich Bread
Creating homemade sandwich bread is much more than just baking a loaf; it’s about customizing your creation to fit your taste and lifestyle. Let your culinary imagination run wild as we explore delightful variations that enhance the classic sandwich experience.
Whole Wheat Bliss
Incorporate whole wheat flour for a nutty flavor and added nutrition. Whole wheat flour gives your bread a heartier texture and a rich, wholesome taste. Consider the wonderful aromas that will fill your kitchen as it bakes; it’s undeniably comforting.
Herb-Infused Bread
Want to elevate your homemade sandwich bread even further? Add fresh or dried herbs like rosemary, thyme, or basil to the dough. These aromatic additions not only excite the palate but also transform your simple sandwiches into gourmet meals.
Seeded Sensation
Adding seeds—think sunflower, sesame, or poppy seeds—into the dough or on top of the crust can give your bread a satisfying crunch and extra nutrition. Seeds are a fantastic way to incorporate healthy fats and add visual appeal.
Sweet and Savory Twist
Consider making a slightly sweeter version of your bread by adding a touch of honey or maple syrup. This subtle sweetness pairs beautifully with both savory and sweet sandwich fillings, making your homemade sandwich bread versatile for any occasion.
Experiment with these variations and discover how they can personalize your sandwich-making experience. Have fun, and soon you’ll find that every loaf becomes a unique masterpiece!
Cooking Tips and Notes for Homemade Sandwich Bread
Creating homemade sandwich bread is a rewarding venture that fills your kitchen with the comforting aroma of freshly baked bread. As you embark on this journey, a few practical tips can elevate your bread-making experience.
Use Quality Ingredients
-
Flour: Opt for all-purpose flour for a balanced texture, but if you want a heartier loaf, whole wheat flour adds a nutty flavor. Remember, the quality of your flour significantly influences the bread’s final taste.
-
Yeast: Choose active dry yeast for more consistent results. Always check the expiration date to ensure your bread rises beautifully.
Master the Kneading Process
- Kneading is crucial for developing gluten, which gives your homemade sandwich bread its delightful structure. Aim for 10 minutes of kneading until the dough is smooth and elastic. Trust me, this step is key!
Checking Dough Rise
- The first rise is critical for flavor. Look for the dough to double in size. To ensure the perfect environment, place it in a warm space—try the oven with just the light on if it’s chilly!
Experiment with Add-Ins
- Consider adding seeds, herbs, or even cheese for a unique flavor twist. These additions can bring your sandwich bread to life!
Cooling Before Slicing
- Patience is your friend! Allow the bread to cool completely before slicing. This helps maintain a perfect crumb texture, making it easier to create those perfect sandwich slices.
Stay mindful of these tips, and you’ll enjoy a delightful loaf of homemade sandwich bread that impresses every time!
Serving Suggestions for Homemade Sandwich Bread
Enjoying a perfectly crafted slice of homemade sandwich bread is an experience that extends beyond the recipe—it’s about how you choose to serve it. Whether it’s a hearty lunch or a delightful snack, the right serving can elevate the humble sandwich into a culinary experience.
Classic Sandwiches
Take a slice of your freshly baked bread and fill it with traditional ingredients. Think turkey, lettuce, and a smear of cranberry sauce for a classic flavor combination. Or go for a timeless BLT—crispy bacon, lettuce, and ripe tomatoes served with a generous slather of mayonnaise.
Creative Toasts
For a quick snack or breakfast option, consider making gourmet toasts. Spread cream cheese or avocado on toasted slices of homemade sandwich bread, then top with smoked salmon and capers or fresh tomatoes and basil. This not only looks appealing but also packs a delicious punch to your taste buds!
Fun Grilled Sandwiches
Grill your sandwich for a crispy outer layer that perfectly complements the soft, fluffy interior. Fill your bread with gooey cheese, fresh vegetables, and spicy mustard to create a delightful blend of textures and flavors. Don’t shy away from trying different cheeses for varied results!
Sweet Options
Bread isn’t just for savory items! Use your homemade sandwich bread for sweet creations, such as French toast drenched in maple syrup. Adding a sprinkle of cinnamon will further enhance the flavor, making breakfast or brunch feel special.
No matter how you enjoy your bread, remember that the key is using quality ingredients and letting your creativity shine!
Time Breakdown for Homemade Sandwich Bread
When it comes to crafting the perfect homemade sandwich bread, understanding the timeline can help you enjoy the process while ensuring a delicious outcome. Let’s break it down.
Preparation Time
The hands-on preparation for this homemade sandwich bread generally takes about 15-20 minutes. This includes measuring ingredients, mixing, and kneading the dough until it’s smooth and elastic.
Baking Time
Once your dough has risen, the baking phase takes approximately 30-35 minutes. You’ll know it’s ready when it develops a lovely golden crust and sounds hollow when tapped.
Total Time
All in all, from start to finish, you’re looking at about 2 to 2.5 hours. This includes the time needed for rising, which allows for that perfect texture and flavor. So grab your apron and get ready to enjoy the delightful aroma of freshly baked bread!
Nutritional Facts for Homemade Sandwich Bread
When you bake your own homemade sandwich bread, it’s not just about the warm aroma filling your kitchen; it’s also about nourishing your body with wholesome ingredients. Understanding the nutritional profile can help you appreciate every slice even more.
Calories
Each slice of homemade sandwich bread contains approximately 100 calories. This makes it a great base for satisfying meals without overwhelming your daily intake.
Carbohydrates
With around 20 grams of carbohydrates per slice, this bread offers a hearty source of energy. The natural fibers in whole wheat flour also help keep you feeling full longer.
Protein
At about 4 grams of protein per slice, homemade sandwich bread provides a decent boost to help support your daily nutritional needs. Coupled with fillings, it creates a balanced meal option.
Embrace the goodness of homemade sandwich bread, knowing that every ingredient is working in harmony to fuel your day.
FAQ about Homemade Sandwich Bread
Homemade sandwich bread isn’t just about making a great loaf; it’s a journey filled with delightful aromas, soft textures, and an undeniable sense of accomplishment. If you’re excited to dive deeper into your baking adventures, here are some frequently asked questions to help guide you along the way.
Can I use whole wheat flour instead of white flour?
Absolutely, you can use whole wheat flour instead of white flour in your homemade sandwich bread! Whole wheat flour will give your bread a denser texture and a nuttier flavor. However, it can absorb more liquid than white flour, so consider adjusting your liquid ingredients slightly or combining it with all-purpose flour to achieve a lighter loaf. A ratio of 50% whole wheat to 50% white flour is a good starting point.
How do I store homemade sandwich bread?
To keep your homemade sandwich bread fresh, store it in a cool, dry place in an airtight container or bag. If you’d like to maintain that soft texture, you can wrap it in plastic wrap and then place it in a breadbox. Avoid refrigerating your bread, as it can accelerate staleness. Instead, enjoy your loaf within a few days for optimal freshness.
Can I freeze homemade sandwich bread?
Freezing your homemade sandwich bread is a great option if you want to save some for later! Once the bread has cooled completely, slice it and wrap individual pieces tightly in plastic wrap or foil, then place them in a freezer-safe bag. This way, you can easily pull out a slice or two whenever you’re in the mood for a fresh sandwich. It can last up to three months in the freezer without losing its delightful texture and flavor.
Conclusion on Homemade Sandwich Bread
Creating your own homemade sandwich bread is a delightful journey that elevates everyday meals into something special. From the warm aroma that fills your kitchen to the satisfaction of slicing into a freshly baked loaf, every step is worth it. Not only does this bread boast superior flavor and texture compared to store-bought options, but it also allows you to control the ingredients, ensuring a healthier choice for you and your family. So whether you’re crafting a simple PB&J or an elaborate gourmet sandwich, your homemade sandwich bread will be the highlight. Embrace this rewarding experience and enjoy the delicious results!
Print
Homemade Bread
- Total Time: 1 hour 45 minutes
- Yield: 1 loaf 1x
- Diet: Vegetarian
Description
This homemade bread recipe is ideal for making soft, warm loaves with a delicious crust.
Ingredients
Scale
- ¾ cup whole milk (warm, 105 to 115°F (40 to 46°C))
- ½ cup water (warm, 105 to 115°F (40 to 46°C))
- 1 tablespoon honey (or granulated sugar)
- 2 tablespoons unsalted butter (melted and cooled slightly)
- 3 ½ cups white flour (all-purpose or bread flour)
- 1 ½ teaspoons fine sea salt
- 1 packet instant yeast (use just 1½ teaspoons (4 g) yeast for bread machine version)
Instructions
- Whisk the flour, salt, and instant yeast in the bowl of a stand mixer fitted with a dough hook.
- Add the warm milk, warm water, honey, and melted butter.
- Beat on low speed until the dough comes together and no dry spots remain.
- Increase to medium speed and knead for 8 minutes, until the dough is smooth, elastic, and can stretch thin enough to see light through it (windowpane test).
- If the dough becomes too sticky during kneading, sprinkle 1 teaspoon flour at a time over the dough or into the bowl, just until you have a soft, slightly tacky dough. Do not add more flour than you need.
- Shape the dough into a ball and place it in a lightly greased bowl.
- Cover and let rise until doubled in size, 60 to 75 minutes.
- Lightly grease a 9 by 5 inch (23 by 13 cm) loaf pan.
- Turn the dough out and press it into an 8 by 12 inch (20 by 30 cm) rectangle.
- Roll up tightly from the short side, pinch the seam, and tuck the ends under.
- Place seam side down in the pan and cover with plastic wrap or a damp towel.
- When the dough reaches the rim of the pan, preheat the oven to 350°F (180°C).
- Continue proofing until the dome is about 1 inch (2 cm) above the rim and a gentle poke slowly springs back.
- Bake on the center rack for 15 minutes, then rotate the pan 180 degrees.
- Continue baking until deep golden and the center reads 200°F (93°C), about 15 to 20 minutes more.
- Cool in the pan for 10 minutes, then turn out onto a wire rack and cool completely. While the bread is still warm, rub butter over the top crust to keep it soft.
- Add ingredients to the pan in this order: milk, water, honey, melted butter, flour, salt, instant yeast. Use 1½ teaspoons (4 g) yeast.
- Insert the pan, close the lid, and select Basic or White, Medium or 1½-lb loaf, and your preferred crust color. Start the cycle.
- When the cycle ends, unplug the machine and remove the pan with oven mitts.
- Cool in the pan for 10 minutes, then shake the loaf out, remove the paddle if needed, and cool completely on a wire rack. Brush the top with butter while the bread is still warm, if desired.
Notes
- For best results, ensure ingredients are at the correct temperatures as specified.
- This recipe can be adapted by adding herbs or spices for additional flavor.
- Prep Time: 15 minutes
- Cook Time: 30 minutes
- Category: Bread
- Method: Baking
- Cuisine: American
Nutrition
- Serving Size: 1 slice
- Calories: 150
- Sugar: 1
- Sodium: 200
- Fat: 5
- Saturated Fat: 2
- Unsaturated Fat: 3
- Trans Fat: 0
- Carbohydrates: 25
- Fiber: 1
- Protein: 4
- Cholesterol: 10