Follow Me On Social Media!

Pizookie Perfection: Decadent Dessert You Can’t Resist
Introduction to Pizookie
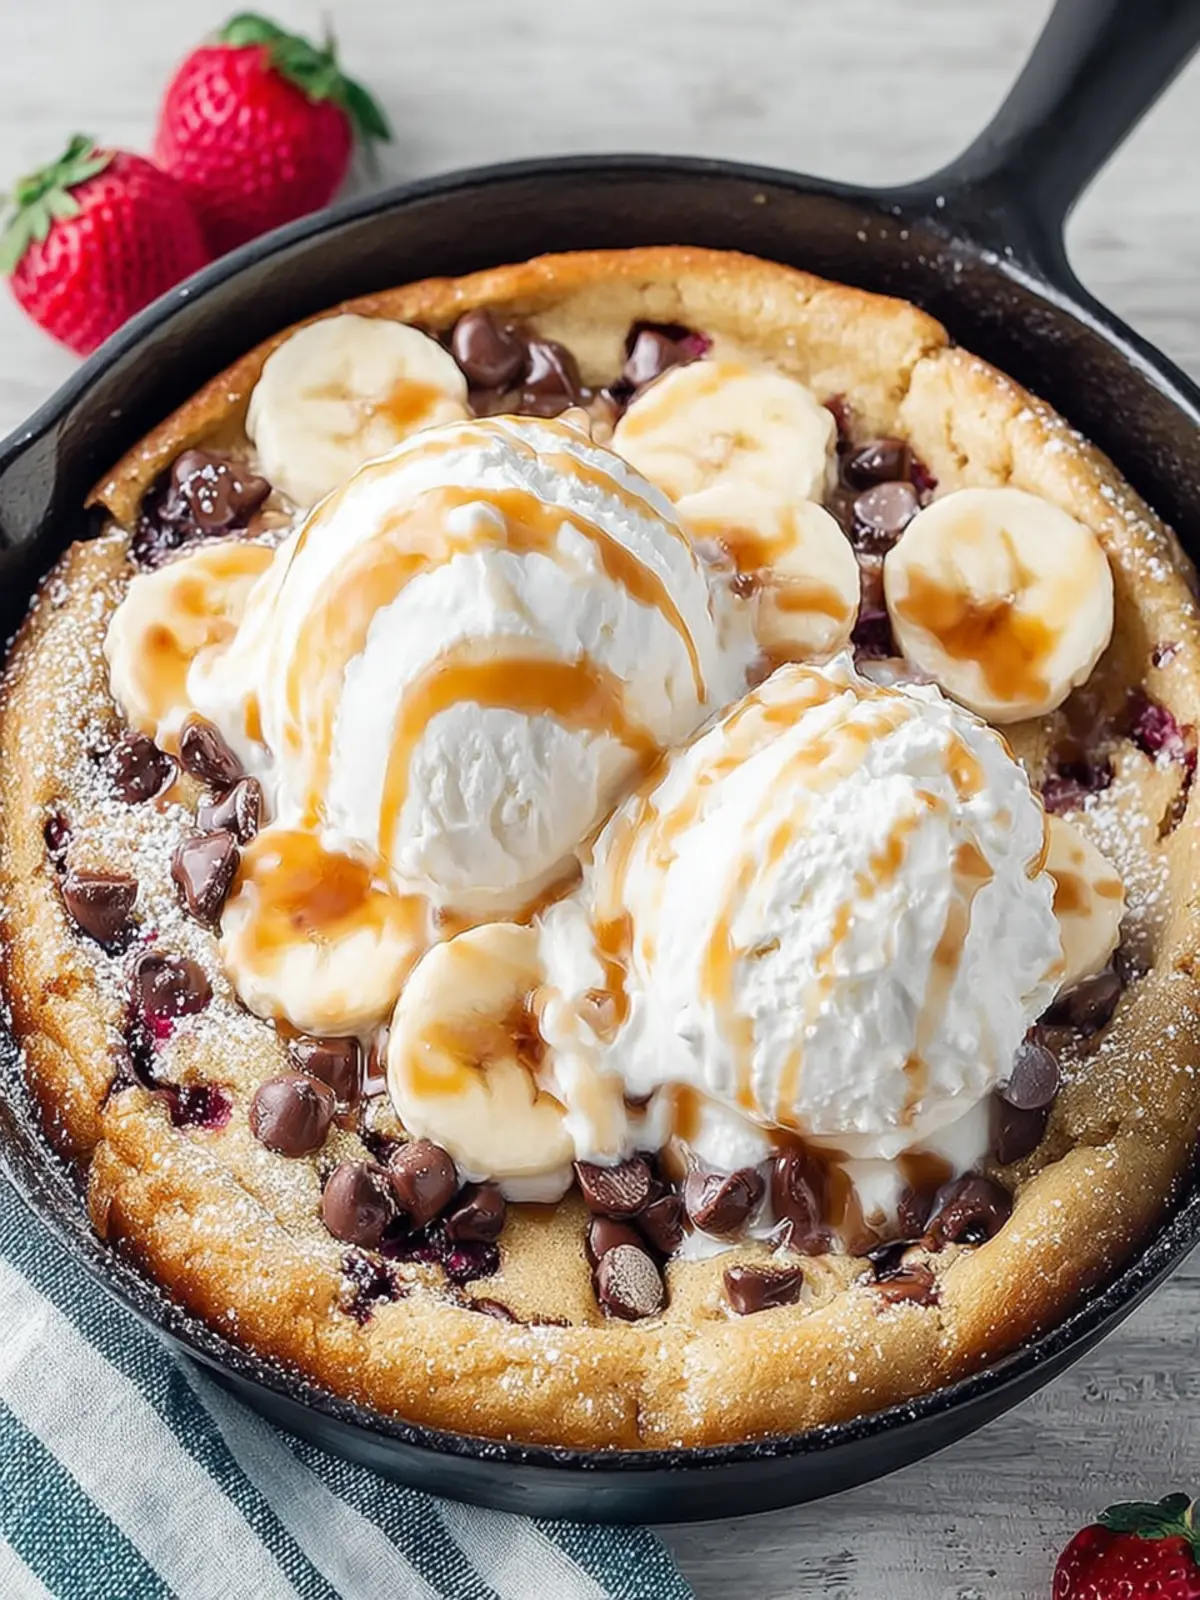
Imagine indulging in a dessert that blends the warmth of freshly baked cookies with the comforting scoop of ice cream—this is where the incredible pizookie comes to life. Originating from the beloved restaurant chain, BJ’s Restaurant & Brewhouse, the pizookie has taken the dessert scene by storm, and for good reason. This delectable treat combines the best of both worlds, offering a gooey, warm cookie baked right in a skillet and perfectly paired with a melting scoop of ice cream on top. Trust me, once you experience the sheer joy of digging into a pizookie, you’ll find yourself wanting to recreate this experience at home.
But what is it about a pizookie that makes it a must-try dessert? First, it’s all about the texture. The outer edges are perfectly crisp, while the center remains soft and chewy, often described as the ultimate cookie experience. The interplay of temperatures—cold ice cream meeting hot cookie—creates a delightful contrast that’s simply irresistible. Whether you’re celebrating a special occasion or just looking to elevate your weekly dessert routine, the pizookie brings a sense of fun and nostalgia to the table.
Another reason to dive into this delicious dessert is its versatility. While the classic chocolate chip flavor reigns supreme, you can experiment with various cookie recipes as the base. Imagine a rich peanut butter cookie topped with vanilla ice cream, or even a decadent double chocolate cookie for the true chocolate lovers. The possibilities are endless, and that’s part of the magic of the pizookie.
Hosting friends or family? The pizookie is also a show-stopping dessert to share. Just bake it in a cast-iron skillet, and you have a visually appealing centerpiece everyone will love to dig into. Ultimately, indulging in a pizookie is more than just eating dessert; it’s about creating memorable experiences, one spoonful at a time. So let’s roll up our sleeves and get ready to make this irresistible dessert at home!
Key Ingredients for Pizookie
Creating the perfect pizookie is an art that begins with the right ingredients. Imagine gathering your friends for a cozy night in, the aroma of warm, chocolatey delights wafting through the air—let’s ensure you have everything you need!
-
Butter: The heart of our pizookie! Use unsalted butter for the batter to create that rich, creamy texture. It’s also spread on the baking dish for easy release and a slightly crisp edge.
-
Sugar: We’re going for both brown sugar and granulated sugar here. The brown sugar adds moisture and a toasty caramel flavor, while the granulated sugar ensures a nice balance for sweetness.
-
Flour: All-purpose flour is the way to go! It provides the structure needed without being too dense. For those with dietary restrictions, a gluten-free blend works well, too.
-
Eggs: Eggs bring life to our pizookie! They bind the ingredients and help achieve that gooey center we all love.
-
Chocolate Chips: Semi-sweet chocolate chips are essential for that melty goodness. You can opt for dark chocolate if you prefer a rich taste!
With these key ingredients, you’re all set to create a delicious pizookie that will wow your friends and family!
Why You’ll Love This Recipe
Imagine cozying up with a warm, gooey dessert that’s a delightful blend of a cookie and a pie—all thanks to this pizookie. This soulful treat, perfect for sharing or savoring solo, transports you to that favorite corner bakery every time you bake it. Its charming presentation in a skillet makes it a showstopper for gatherings or just a casual night in.
Here’s why you’ll adore this recipe:
-
Easy Preparation: Whipping up a pizookie doesn’t require advanced baking skills. With simple ingredients and a few quick steps, you’ll have a delicious dessert ready to enjoy in no time.
-
Customizable Flavors: Want to add your twist? This base recipe is incredibly versatile. Mix in your favorite chocolate chips, nuts, or even switch up the flavors with various extracts or toppings.
-
Warmth and Comfort: There’s nothing like the aroma of a cookie baking to make your home feel inviting. This pizookie fills the air with sweetness, making it a heartwarming treat that’s perfect for both celebrations and ordinary days.
-
Indulgent Treat: With its soft, chewy center and crispy edges, each bite of this pizookie is pure bliss. Top it off with a scoop of vanilla ice cream, and you have a dessert experience that’s hard to forget.
So go ahead, gather your ingredients and get ready to fall in love with this delightful dessert!

Variations to Try
When you dive into the world of pizookie, creativity knows no bounds. Imagine sinking your spoon into a warm, gooey dessert, where the classic base becomes a canvas for flavor experimentation. Here are some fun variations to try that will make your pizookie an exciting treat every time:
-
Chocolate Chip Delight: Stick with the classic by adding a generous cup of semi-sweet or dark chocolate chips. The melty, rich chocolate complements the cake-like texture perfectly.
-
Nutty Banana Bliss: Mash ripe bananas into the dough and sprinkle chopped walnuts on top. This combo adds a wholesome twist and enhances the moistness of your pizookie.
-
S’mores Sensation: For a campfire feel, mix in mini marshmallows and graham cracker crumbs into your base. Add some chocolate chunks for that gooey goodness that screams indulgence.
-
Peanut Butter Cup: Swirl in some creamy peanut butter or fold in mini peanut butter cups for a rich, nutty flavor that pairs beautifully with the sweetness.
-
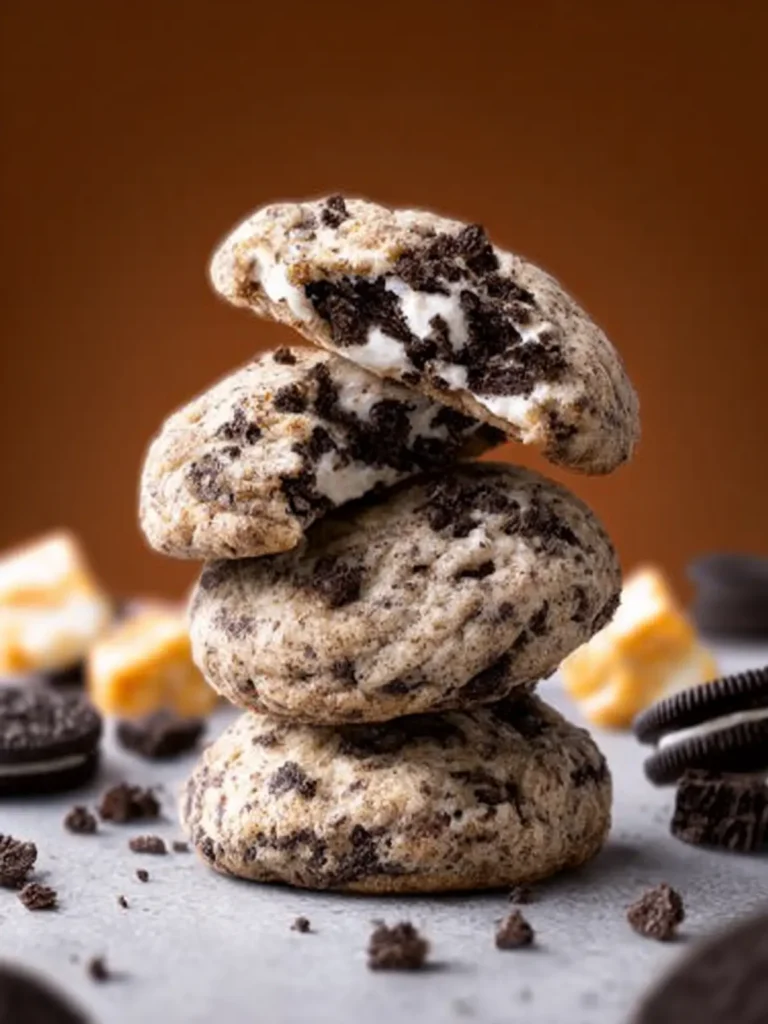
Cookies and Cream: Crushed Oreo cookies mixed into the batter create a decadent texture. Top with whipped cream and extra Oreo pieces for a delightful finish.
These variations will keep your pizookie fresh and exciting, allowing you to discover a new favorite flavor every time you bake!
Cooking Tips and Notes
Creating the perfect pizookie is all about the balance of flavors and textures. Here’s how to take your delicious dessert to new heights:
Choose the Right Pan
Using a cast-iron skillet or oven-safe dish can make a huge difference in your pizookie. Cast iron retains heat exceptionally well, allowing for a beautifully baked crust without overcooking the center. If you opt for a glass dish, just keep an eye on the baking time.
Mixing the Dough
Don’t overmix the dough! When combining your ingredients, mix until just combined; this helps maintain the chewy texture. If you see a few lumps, that’s okay! They’ll bake out during the cooking process.
Perfect Toppings
While vanilla ice cream is a classic pizookie topping, don’t be afraid to experiment! Try drizzling caramel sauce, adding chocolate chips, or even a sprinkle of sea salt for a gourmet twist. The contrast of hot and cold is a must!
Baking Time
Every oven is a little different, so start checking your pizookie a few minutes before the recommended baking time. You want it to be golden on the edges but soft in the middle—this will guarantee that gooey, delicious bite we all love.
With these tips, your pizookie will undoubtedly impress friends and family alike!

Serving Suggestions
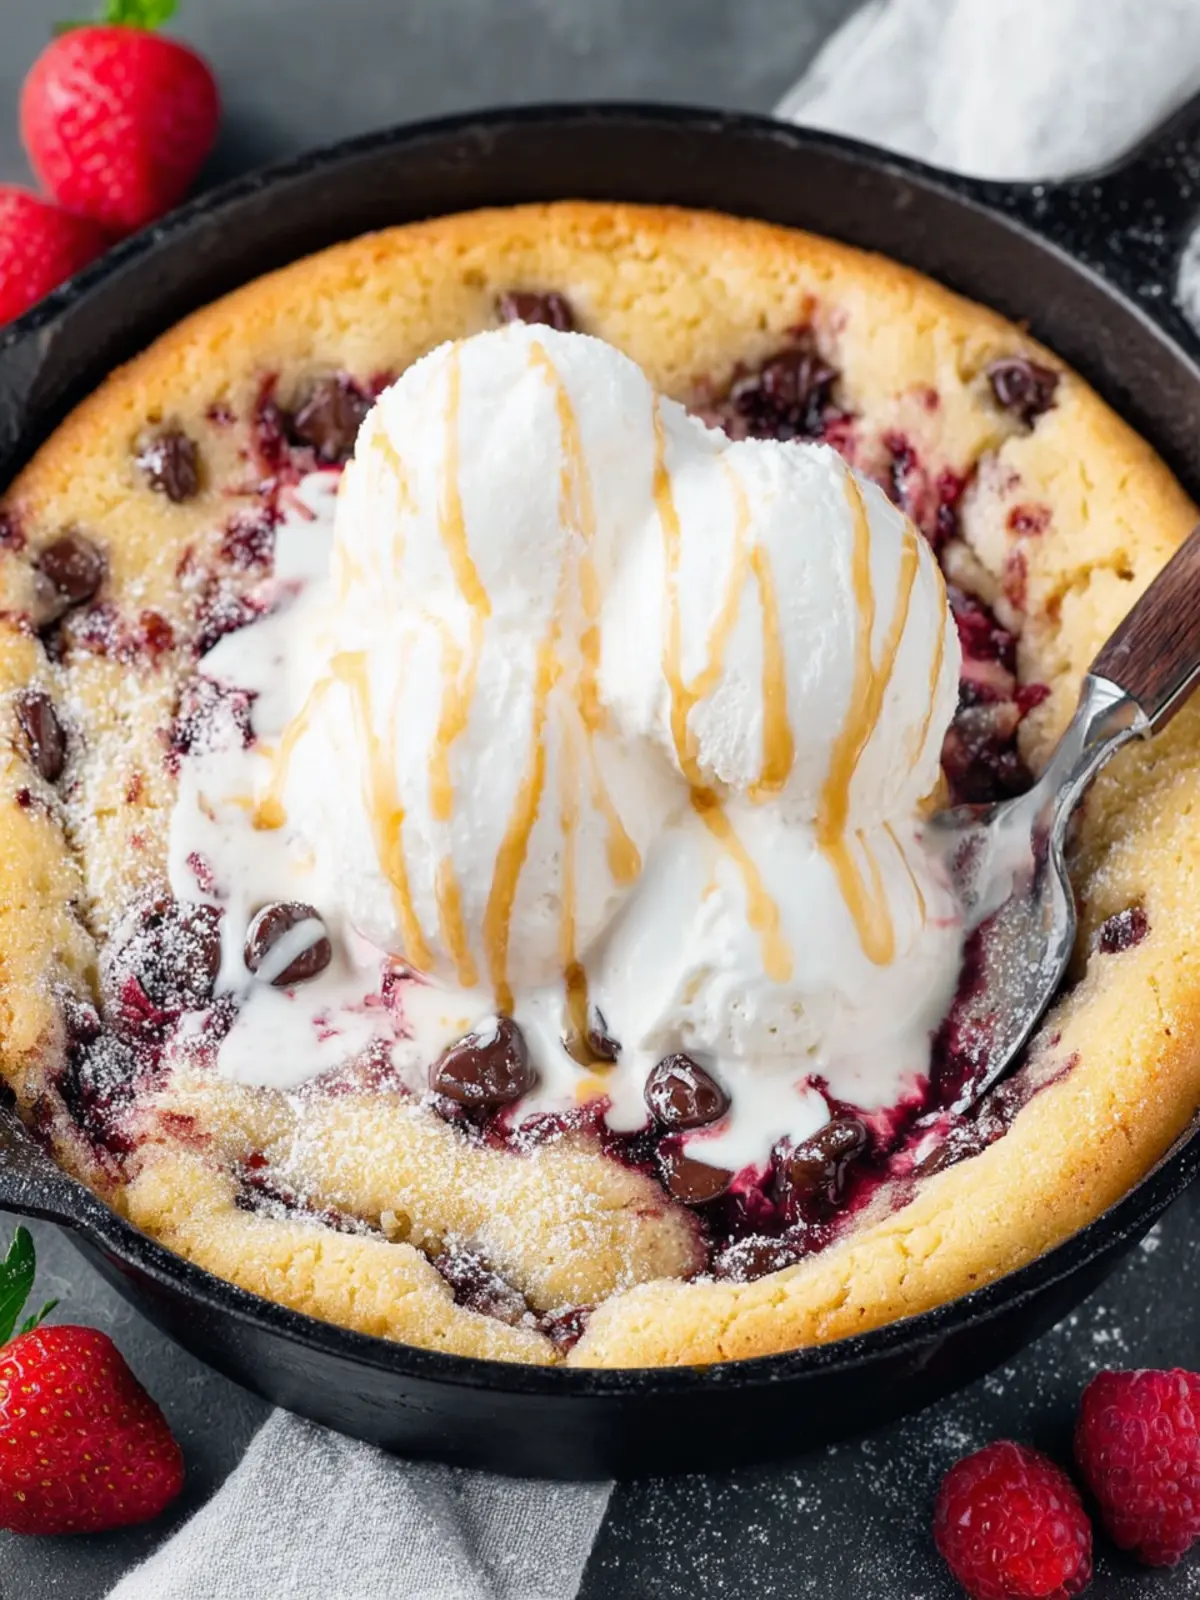
Creating the perfect pizookie experience is all about how you choose to serve it. First and foremost, enjoy this delightful dessert fresh out of the oven. The contrast between the warm, gooey cookie base and the cold ice cream on top is simply unbeatable!
Here are some delicious serving ideas to elevate your pizookie enjoyment:
- Ice Cream Delight: Top each pizookie with a generous scoop of your favorite ice cream. Classic vanilla is always a crowd-pleaser, but don’t shy away from adventurous flavors like salted caramel or cookie dough.
- Fruity Extras: Consider adding fresh fruits like sliced strawberries, bananas, or blueberries. They add a refreshing note that balances the richness of the cookie.
- Drizzle of Sauce: A drizzle of chocolate or caramel sauce can elevate your pizookie to decadence. Just a little goes a long way!
- Nuts for Crunch: Sprinkle some toasted nuts, such as pecans or walnuts, on top. They add texture and a flavorful crunch that complements the softness of the cookie.
With these suggestions, you’ll turn your pizookie into a sensory experience that your guests will rave about!
Time Breakdown for Making a Pizookie
Creating a warm, gooey pizookie is not just about indulging in dessert; it’s a delightful experience that transforms your kitchen into a baking haven. Here’s how you can efficiently manage your time for this delectable dish.
Preparation Time
Getting your ingredients and equipment ready takes about 10 minutes. This includes measuring out flour, sugars, and gathering all the necessary ingredients for your pizookie.
Baking Time
The baking will take around 20 minutes. Keep an eye on it to ensure that the edges are golden while the center remains soft and gooey.
Total Time
In total, you’ll spend about 30 minutes from start to finish. Just enough time to whip up something incredibly satisfying and delicious for yourself or to share with friends!
Nutritional Facts for Pizookie
Understanding the nutritional facts of your beloved pizookie can help you enjoy this indulgent dessert with a bit more awareness.
Calories
A typical serving of pizookie contains around 400-500 calories, largely derived from the rich combination of cookie dough, chocolate chips, and ice cream.
Protein
You can expect about 6-8 grams of protein per serving, thanks to the eggs and any added nuts you might include in your pizookie recipe.
Sugar
With roughly 25-30 grams of sugar, this dessert satisfies your sweet tooth but shows the need for moderation!
Carbohydrates
The carbohydrate content sits around 50-60 grams, primarily from the flour and sugars, giving you that fulfilling, dessert-like experience that makes pizookie such a favorite.
Enjoying your pizookie in moderation allows you to revel in its deliciousness while being aware of its nutritional impact!
FAQ about Pizookie
When considering a delightful pizookie, it’s only natural to have questions about this irresistible dessert. Let’s dive into some of the most frequently asked questions to help you perfect your baking experience!
Can I make Pizookie in advance?
Absolutely! You can prepare your pizookie dough in advance. Simply follow the recipe, mix your ingredients, and store the dough in an airtight container in the refrigerator for up to 24 hours. When you’re ready to indulge, just scoop the dough into your baking pan and pop it in the oven for warm, gooey goodness. Keep in mind though, freshly baked is always best!
How long does Pizookie stay fresh?
A freshly baked pizookie strikes the perfect balance between crispy edges and a gooey center, but if you find yourself with leftovers, they can be stored in an airtight container at room temperature for about 2 days. For longer freshness, consider refrigerating it for up to a week. Just reheat individual portions in the microwave for a few seconds to bring back its warm, melty texture!
Can I use gluten-free flour for Pizookie?
Yes, using gluten-free flour in your pizookie is entirely feasible! I recommend a 1:1 gluten-free all-purpose flour blend, which works similarly to regular flour. You’ll achieve a delicious result without compromising flavor or texture. Just make sure to check your baking powder is also gluten-free if that’s a concern!
With these tips, you’ll not only enjoy making your pizookie but also master it! Happy baking!
Conclusion on Pizookie
Bringing a cozy pizookie into your home is more than just baking; it’s about creating memories and indulging in a delightful experience. This dessert is the perfect culmination of a fun evening, whether you share it with friends or enjoy it as a personal treat. The warm cookie base paired with melting ice cream invites you to savor each bite. As you experiment with flavors and toppings, let your creativity shine. Remember, it’s the love and laughter shared over this delicious dessert that makes it truly special. So gather your ingredients, preheat that oven, and get ready for dessert bliss.
Print
Chocolate Chip Skillet Cookie
- Total Time: 35 minutes
- Yield: 8 servings 1x
Description
A delicious chocolate chip cookie baked in a skillet for a gooey center and crispy edges.
Ingredients
Scale
- 1 cup butter (melted)
- 3/4 cup granulated sugar
- 1 cup brown sugar
- 2 large eggs (room temperature)
- 1 tablespoon vanilla extract
- 3 cups all purpose flour (for an extra gooey center reduce flour to 2 1/2 cups)
- 1 1/2 teaspoons baking powder
- 1 teaspoon baking soda
- 3/4 teaspoon salt
- 1 cup chopped chocolate or chocolate chips
Instructions
- Preheat oven to 350°F. Lightly grease a 10- to 12-inch cast-iron skillet or baking dish and set aside.
- In a large mixing bowl, mix together melted butter, granulated sugar, and brown sugar until well combined.
- Beat in the eggs, one at a time, followed by the vanilla extract.
- Add flour, baking soda, baking powder, and salt and continue mixing until combined. Stir in the chocolate pieces/chips.
- Spread the dough evenly into the prepared skillet. It’s going to be sticky and that is totally normal.
- Bake for 22–26 minutes, or until the edges are golden brown but the center is still soft and slightly underbaked.
- Let it cool for about 5 minutes before serving.
- Top with vanilla ice cream, whipped cream, and a drizzle of chocolate sauce, and/or caramel sauce. Serve while the cookie is still warm.
Notes
- This cookie is best served warm with ice cream.
- For a chewier texture, reduce the amount of flour.
- Prep Time: 10 minutes
- Cook Time: 25 minutes
- Category: Desserts
- Method: Baking
- Cuisine: American
Nutrition
- Serving Size: 1 slice
- Calories: 350
- Sugar: 20g
- Sodium: 150mg
- Fat: 18g
- Saturated Fat: 11g
- Unsaturated Fat: 5g
- Trans Fat: 0g
- Carbohydrates: 45g
- Fiber: 2g
- Protein: 4g
- Cholesterol: 70mg