Follow Me On Social Media!


Salted Peanut Butter Bars: Indulgent Treats You’ll Crave
Introduction to Salted Peanut Butter Bars
Imagine sinking your teeth into a decadent salted peanut butter bar, where the rich, creamy goodness of peanut butter meets just the right amount of salt and sweetness. That’s the kind of experience that these bars promise, making them a true standout in the dessert world. For anyone who adores that classic combination of salty and sweet, these bars are not just a treat—they’re an event.
The moment you whip up these salted peanut butter bars, you’ll discover why they have such a special place in hearts and kitchens alike. They blend the comforting flavors of peanut butter with a hint of sea salt, creating an irresistible treat that’s perfect for any occasion, be it a mid-week pick-me-up, a cozy night in, or a fun gathering with friends. Their simplicity in preparation is matched only by their complexity in flavor, making them appealing even to those who consider themselves amateur bakers.
What makes Salted Peanut Butter Bars so special?
These bars are an effortless dessert that combines beloved ingredients. The key lies in the balance of flavors and textures:
- The Crunch of the Peanuts: Whole or chopped peanuts add a delightful crunch, giving each bite an enjoyable texture that contrasts with the smoothness of the peanut butter.
- The Sweetness of the Base: A fusion of brown sugar and granulated sugar ensures that the bars are just sweet enough without overpowering the nuttiness of the peanut butter.
- The Richness of Peanut Butter: Choosing a high-quality peanut butter enhances the taste significantly. Whether you prefer creamy or chunky, the peanut butter is the hero of this dish.
- A Hint of Sea Salt: This is the secret ingredient that elevates the flavor profile, adding that addictive touch that keeps you coming back for more.
This simple yet enchanting dessert caters to both casual snack enthusiasts and dedicated dessert connoisseurs alike, ensuring that they enchanted by each decadent bite. Just one bar can ignite a love for baking, making it a fantastic recipe to share with friends or family. So grab your mixing bowls and get ready to enjoy the magic of salted peanut butter bars!
Key Ingredients for Salted Peanut Butter Bars
Peanut Butter: The star of our salted peanut butter bars, creamy or crunchy peanut butter adds that deliciously nutty flavor we all crave. Opt for natural peanut butter without added sugars for a wholesome touch. If you prefer an extra kick, try using a flavored version like honey-roasted.
Oats: Rolled oats serve as a delightful base, providing a chewy texture while keeping the bars wholesome. They’re also great for adding fiber, making these treats not just tasty but filling too.
Honey: I gravitate toward raw honey for its rich flavor and natural sweetness. It acts as both a sweetener and a binder, holding the bars together beautifully without the need for refined sugars.
Salt: A dash of flaky sea salt elevates the overall flavor profile, balancing the sweetness of the honey and enhancing the nutty notes of the peanut butter.
Chocolate Chips: For a decadent twist, I always add semi-sweet chocolate chips. They melt slightly, creating delightful pockets of chocolate that beautifully complement the peanut butter.
Vanilla Extract: A splash of pure vanilla extract rounds out the flavors, bringing a warm, aromatic quality to your salted peanut butter bars.
Why You’ll Love This Recipe
Imagine sinking your teeth into a delightful treat that marries the rich creaminess of peanut butter with a hint of saltiness, all wrapped up in a chewy bar. Salted peanut butter bars are not just desserts; they’re an experience that brings comfort and satisfaction with each bite. Whether you’re winding down after a long day or celebrating a minor victory in your life, these bars are the perfect companion, offering a delightful balance of sweet and salty that consistently hits the spot.
Here are a few reasons you’ll adore making these salted peanut butter bars:
-
Simplicity at its Best: The ingredient list is straightforward, requiring common pantry staples. No need for fancy equipment or intricate techniques!
-
Versatile Treat: These bars make a fantastic on-the-go snack, a cozy dessert after dinner, or even a standout addition to a potluck. They cater to various occasions effortlessly.
-
Healthier Indulgence: Utilizing natural peanut butter offers a protein-packed treat without excessive refined sugars. Enjoy a guilt-free indulgence that still satisfies your sweet tooth.
-
Customizable Flavor: Feel free to sprinkle in chocolate chips, nuts, or dried fruit to add your own unique twist!
In just a few easy steps, you can whip up these delightful salted peanut butter bars that bring joy and comfort to any moment. Trust me, once you try them, there’s no going back!

Cooking Tips and Notes for Salted Peanut Butter Bars
Creating the perfect salted peanut butter bars is a delightful journey of flavor and texture. Let’s dig into some essential tips that will enhance your baking experience.
Choose Quality Ingredients
-
Peanut Butter: Opt for natural peanut butter made from just peanuts and salt. This will ensure a rich, authentic flavor. Avoid brands with added sugars or oils, as they can alter the texture and taste of your bars.
-
Sweeteners: Using a combination of brown sugar and honey gives these bars a lovely chewiness and depth of flavor. If you’re looking for a healthier option, maple syrup could work too, but it may change the texture slightly.
Achieving the Right Texture
-
Mixing: When blending your ingredients, don’t overmix. A few gentle folds are enough to combine everything. Overmixing can lead to dense bars instead of the chewy, soft ones you’re aiming for.
-
Chilling: After preparing your mixture, refrigerate it for about 30 minutes before baking. This sets the ingredients and prevents the bars from spreading too much in the oven, maintaining those perfect edges.
Perfecting the Salty-Sweet Balance
- Salt: Just a sprinkle of flaky sea salt on top before baking can elevate the flavor. It enhances the natural sweetness and gives your salted peanut butter bars that irresistible contrast.
With these thoughtful tips in mind, you’re well on your way to baking delectable salted peanut butter bars that will become an instant favorite! Enjoy the process and don’t forget to taste as you go!
Serving Suggestions for Salted Peanut Butter Bars
When it comes to enjoying salted peanut butter bars, the possibilities are as rich and delightful as the bars themselves! Picture this: you’ve just pulled a batch of these heavenly treats from the oven, their sweet and salty aroma wafting through your kitchen. So, how do you elevate your experience? Let’s explore some serving ideas that will make your bars even more unforgettable.
Pair with a Glass of Milk
There’s something undeniably nostalgic about enjoying salted peanut butter bars with a cold glass of milk. Whether you opt for classic dairy or a creamier nut milk, the combination perfectly balances the richness of the bars.
Top with Fresh Fruit
Consider adding fresh fruit as a topping. Slices of banana or strawberries not only introduce a pop of color but also provide a refreshing taste contrast. This simple addition enhances the nutritious aspect while delighting your palate.
Serve with Ice Cream
For those indulgent moments, serve your salted peanut butter bars warm, alongside a scoop of vanilla or chocolate ice cream. The melting ice cream will enhance the salty-sweet flavor, making it a dessert to remember.
Snack on Them Anytime
These bars are perfect for any occasion. Pack them in your lunch, enjoy them as an after-work snack, or even serve at parties cut into smaller bites—everyone loves a little pick-me-up!
These suggestions ensure that your salted peanut butter bars become the star of the show, whether for a cozy night in or a lively gathering with friends. Enjoy!

Time Breakdown for Salted Peanut Butter Bars
Crafting the perfect salted peanut butter bars is as rewarding as it is delicious. Understanding the time commitment for each step makes the process flow smoothly, ensuring your tasty treats are ready in no time.
Preparation time
Setting aside just 15 minutes for preparation allows you to gather and measure your ingredients. This is the time to mix that irresistible peanut butter with your other components, creating the bar’s base.
Setting time
Once baked, let your salted peanut butter bars set in the fridge for at least 1 hour. This crucial step helps the bars firm up, making them easier to cut and enjoy.
Total time
In total, you’ll spend about 1 hour and 15 minutes to indulge in these delightful bars. Just think, a little preparation and patience rewards you with a scrumptious treat that will keep you coming back for more!
Nutritional Facts for Salted Peanut Butter Bars
When you dive into the delicious world of salted peanut butter bars, you’ll find that these treats not only satisfy your cravings but also pack a nutritional punch that can keep you fueled throughout the day. Let’s explore what makes these bars a delightful treat without the guilt.
Calories
One serving of these salted peanut butter bars contains approximately 200 calories. This makes them a great option for a post-workout snack or a sweet pick-me-up during a busy workday.
Protein
With about 7 grams of protein per bar, these treats are perfect for those looking to balance their sweet cravings with a good source of protein. This nutrient helps in muscle building and keeps you feeling full longer, making it easier to resist those mid-afternoon snacks.
Sugar
While they are undeniably sweet, each bar contains around 8 grams of sugar. This is a reasonable amount that provides a quick energy boost without sending your blood sugar levels soaring. With the addition of a sprinkle of sea salt, you’re left with a satisfying blend of sweet and salty that keeps you coming back for more!
Incorporating these salted peanut butter bars into your diet allows you to indulge without derailing your nutrition goals.
FAQs about Salted Peanut Butter Bars
Biting into a Salted Peanut Butter Bar is like indulging in a sweet and salty symphony that dances on your taste buds. Here’s a friendly guide to some of the most common questions you might have about these tasty treats.
How can I make these bars vegan?
Transforming these salted peanut butter bars into a vegan delight is easy! Simply substitute honey or any non-vegan sweetener with maple syrup or agave nectar for a plant-based version. Ensure that you use vegan chocolate chips if your recipe calls for chocolate. This way, you can enjoy the comforting flavors while adhering to a vegan lifestyle.
Can I use different nut butter?
Absolutely! While peanut butter gives these bars their signature flavor, feel free to experiment with other nut butters like almond or cashew. Each nut butter will impart its unique taste and texture to the salted peanut butter bars, offering a new twist on this classic recipe. Just be mindful of consistency – stick to creamy versions for the best results.
What’s the best way to store these bars?
To maintain the freshness and flavor of your salted peanut butter bars, store them in an airtight container at room temperature for up to a week. If you find yourself making a larger batch, refrigeration is a great option and can extend their life for up to two weeks. For longer storage, these bars freeze well; just wrap them individually and store in a freezer-safe bag for up to three months. Enjoy them anytime!
Conclusion on Salted Peanut Butter Bars
As you savor the last bite of these salted peanut butter bars, you’ll realize that simple ingredients can create a delightful treat perfect for any occasion. The natural sweetness of the peanut butter pairs beautifully with the hint of salt, providing a satisfying flavor contrast that keeps everyone coming back for more. These bars are not just a snack; they can easily become a cherished part of your recipe repertoire. Remember, these bars are ideal for meal prep, and a great way to impress friends with your baking skills. Enjoy making them and sharing the love!
Print
Peanut Butter Chocolate Rice Crispy Treats
- Total Time: 1 hour
- Yield: 18 servings 1x
- Diet: Vegetarian
Description
A delicious and fun treat made with brown rice cereal, peanut butter, and chocolate.
Ingredients
Scale
- 4 cups brown rice cereal crisps
- 3 tablespoons ground flaxseed meal
- ¾ cup natural, creamy, unsalted, unsweetened peanut butter
- ⅓ cup maple syrup
- ¼ cup coconut sugar
- 2 tablespoons coconut oil
- ½ teaspoon kosher salt
- 1 teaspoon pure vanilla extract
- 1 cup semi-sweet or dark chocolate chips
- ¼ cup natural, creamy, unsalted, unsweetened peanut butter
- 1 tablespoon coconut oil
- ⅓ cup white chocolate chips
- 1 teaspoon coconut oil
- ¼ cup holiday sprinkles
Instructions
- Line an 8×8 square baking pan with a parchment paper sling. Set aside.
- In a large bowl, add the brown rice crisp cereal and flaxseed meal. Toss to combine.
- In a medium pot, add the peanut butter, maple syrup, coconut sugar, coconut oil, and salt. Turn the heat to medium. Whisk, stirring occasionally until the mixture comes to a gentle simmer.
- Once bubbling, whisk constantly for 1 minute, until the mixture thickens slightly and the flecks of coconut sugar dissolve. Add the vanilla and whisk to combine. Immediately pour the mixture over the brown rice cereal.
- Mix very well to combine. Transfer the base to the prepared baking pan and spread in an even layer. Using the bottom of a measuring cup, press the mixture into the pan, packing down.
- Transfer to the freezer for at least 30 minutes or until it is completely set.
- Once the bars have set, start on the topping. In a small pot, add the chocolate chips, peanut butter, and coconut oil. Heat over medium-low.
- Once the chocolate begins to melt, stir slowly but constantly, reducing the heat to low.
- Once almost all of the chocolate chips have melted, remove from the heat. Stir until the residual heat has melted the remaining chips.
- Pour the mixture over the bars, spreading into a smooth and even layer. Transfer back to the freezer for 30 minutes.
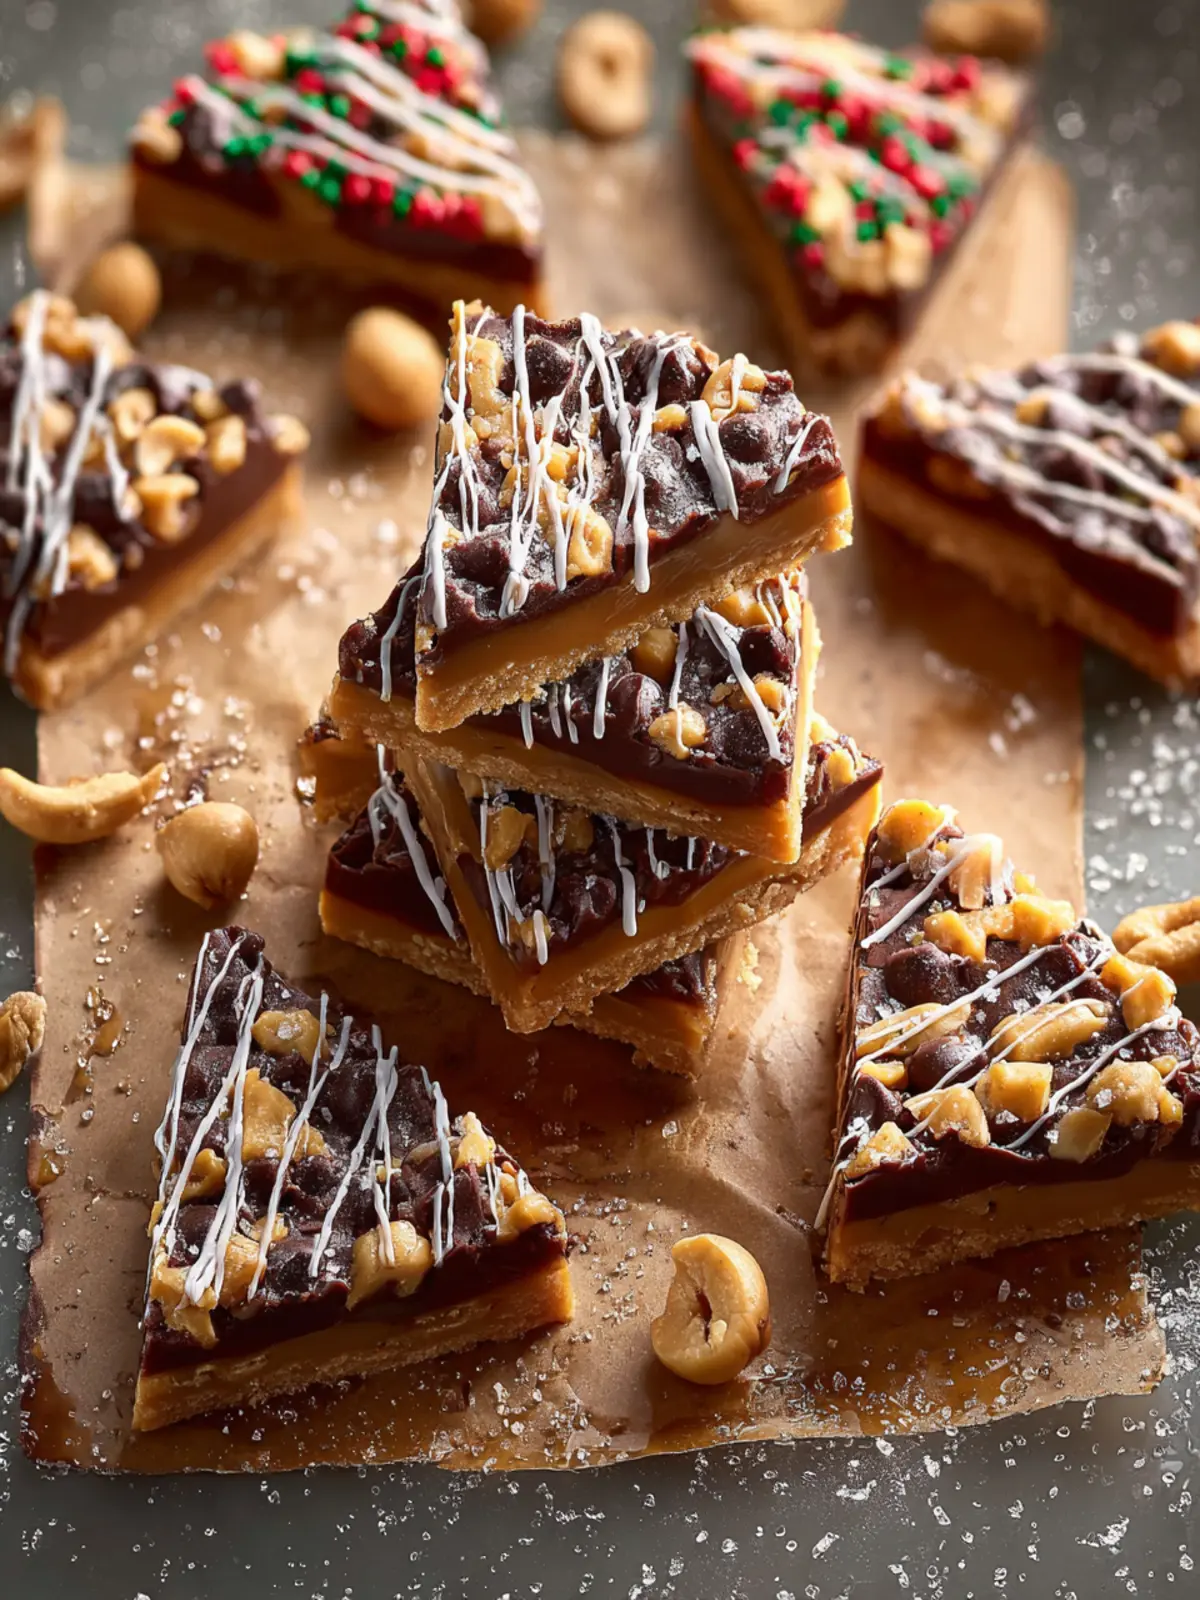
- If making squares: Carefully remove the bars from the pan. Using a sharp knife, cut into 3 rectangles. Cut each rectangle into 3 squares. Cut each square on the diagonal to get 18 triangles. Place the trees on a baking sheet lined with parchment; for smaller bars instead of triangles, slice each rectangle into ~1-inch-thick bars. You can make them thicker or thinner based on your preference.
- If making Christmas trees: Carefully remove the bars from the pan. Using a sharp knife, cut into 3 rectangles. With each rectangle, cut 7 triangles, starting on the right corner and cutting at a diagonal towards the left. Remove the edge piece and save for snacking! Then make a triangle, and repeat until you get 7 equal-sized triangles. Repeat with the remaining 2 rectangles, until you get 21 “trees.” Place the trees on a baking sheet lined with parchment.
- In a small microwave-safe bowl, add the white chocolate and coconut oil. Microwave in 30-second increments until smooth.
- Using a fork, drizzle the white chocolate rapidly over the squares or trees, about a foot above them. For the trees, you’re trying to resemble strings of lights. Immediately add the sprinkles (since the bars are cold the chocolate will harden quickly).
- Store in an airtight container in the fridge for up to a week or in the freezer for up to 1 month.
Notes
- This recipe can be made ahead of time and frozen for later.
- Adjust the amount of chocolate and sprinkles according to your preference.
- Prep Time: 15 minutes
- Cook Time: 15 minutes
- Category: Dessert
- Method: No-bake
- Cuisine: American
Nutrition
- Serving Size: 1 bar
- Calories: 200
- Sugar: 10g
- Sodium: 50mg
- Fat: 10g
- Saturated Fat: 4g
- Unsaturated Fat: 5g
- Trans Fat: 0g
- Carbohydrates: 25g
- Fiber: 2g
- Protein: 4g
- Cholesterol: 0mg